We have now begun to install screwless face Schneider electrical fittings into the motorhome project.
Electrical installation.
We have chosen 2.5mm internal electrical cable which is capable of supplying around 23-25 amps. Some people chose to use 15mm cable flex in their conversions. A problem with 1.5mm flex is it has a rating of around 15 amps.
The 2 pin & earth connectors and the consumer unit breakers used on UK campsite hook up points are rated at 16 amps.
Of course individual appliances within the motorhome will be independently fused, to a maximum value of 13 amps (most will be a maximum of 5 amps) and will each receive protection from the consumer unit. The 2.5mm cable we have used for the 240v internal mains ring will be fixed to the various frames, where practicable, to hold it firm and to avoid vibration and movement and therefore potential loosening at electrical connections when travelling. We must remember too, the wiring spans are quite short so are not as vulnerable to overheating and electrical losses, unlike inside a household property. We have seen far too many examples of overheating cables where household 1.5mm cable has been used in motorhomes / campervans and then hidden away. The first sign of a problem people have found is when the motorhomes / campervans have almost caught fire following a burning smell – that is not a risk we are prepared to take – but each to their own.
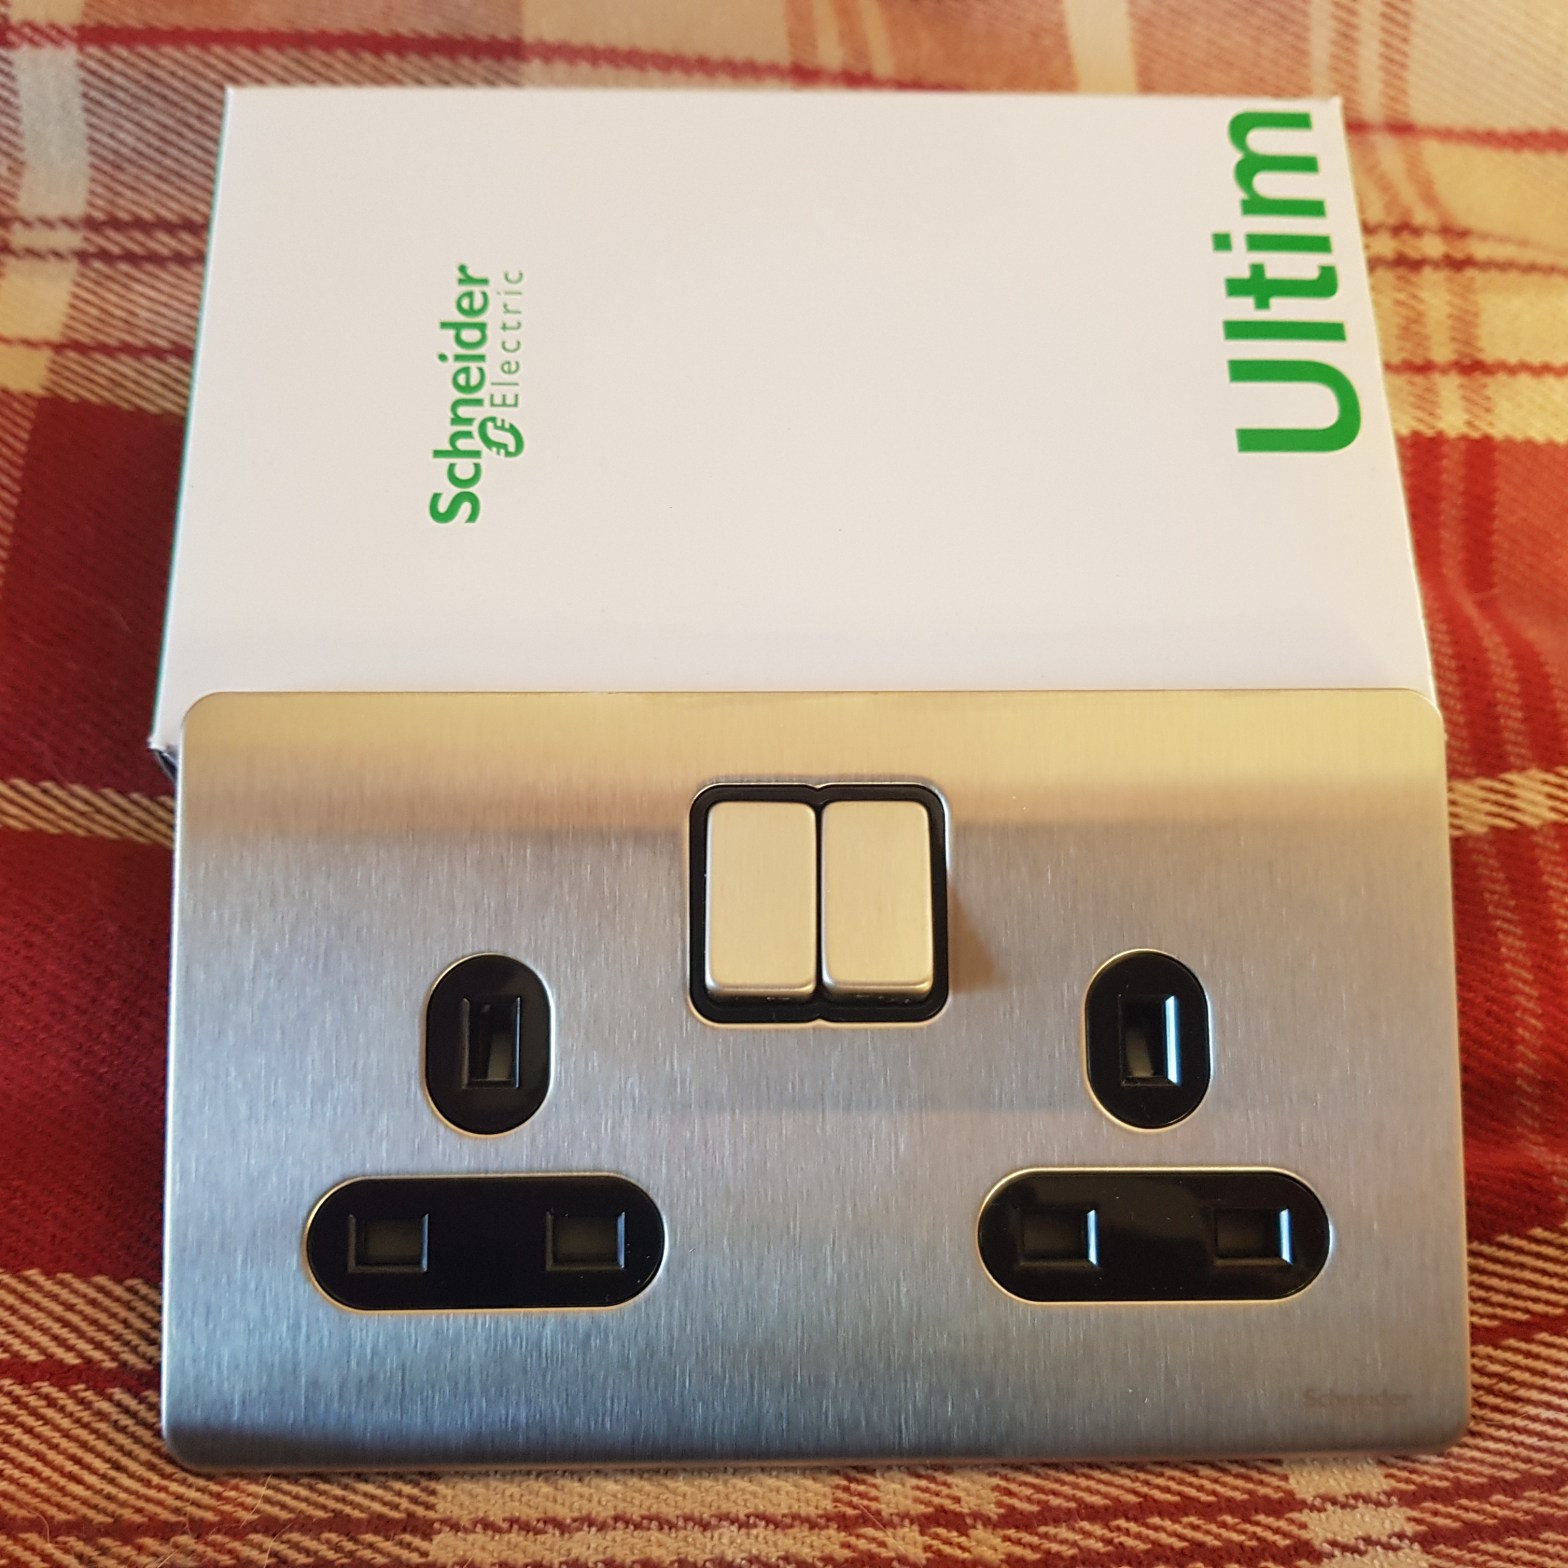
Products used:
Schneider Electric Ultimate Screwless Flat Plate – Single Rocker 2 Way Light Switch: https://amzn.to/3uAwzsr
Schneider Electric Lisse Screwless Deco – Switched Double Power Socket, Double Pole, 13A: https://amzn.to/3FeaXXJ
Windows.
Two more windows that were not previously sealed have also been resealed. We now have five windows left to remove clean and reseal.

The windows originally had tape type sealer, and they leaked terribly around the frames. We have used Butyl mastic tape around the exterior bodywork, such as under the metal strips that pass over body panel seals and under the roofing edge trims. However, we didn’t feel it was appropriate around the windows. Instead, we have applied copious amounts of exterior sealer and have improved the structural integrity around the windows by discreetly screwing the windows to the frame, fixings of which were not there originally.
Pop over and see how we are getting on by watching our latest vlog on YouTube –> https://www.youtube.com/watch?v=aQsB6nOnfus
