Introduction
Keeping warm during those cold-weather motorhome trips is essential, and a diesel heater can be a great solution. Diesel heaters are efficient, reliable, and capable of keeping your motorhome or campervan toasty even in freezing conditions. Nonetheless, installing a diesel heater correctly is key to ensuring both your safety and comfort. This guide will walk you through the essential steps to safely install a diesel heater in your motorhome.
Why Choose a Diesel Heater for Your Motorhome?
Diesel heaters have a variety of benefits:
- Efficiency: Diesel heaters consume very little fuel, making them a cost-effective way to stay warm.
- Safety: When installed correctly, diesel heaters are safe and emit minimal fumes.
- Power: They produce a lot of heat and can warm up even large motorhomes quickly.
Step-by-Step Installation Guide
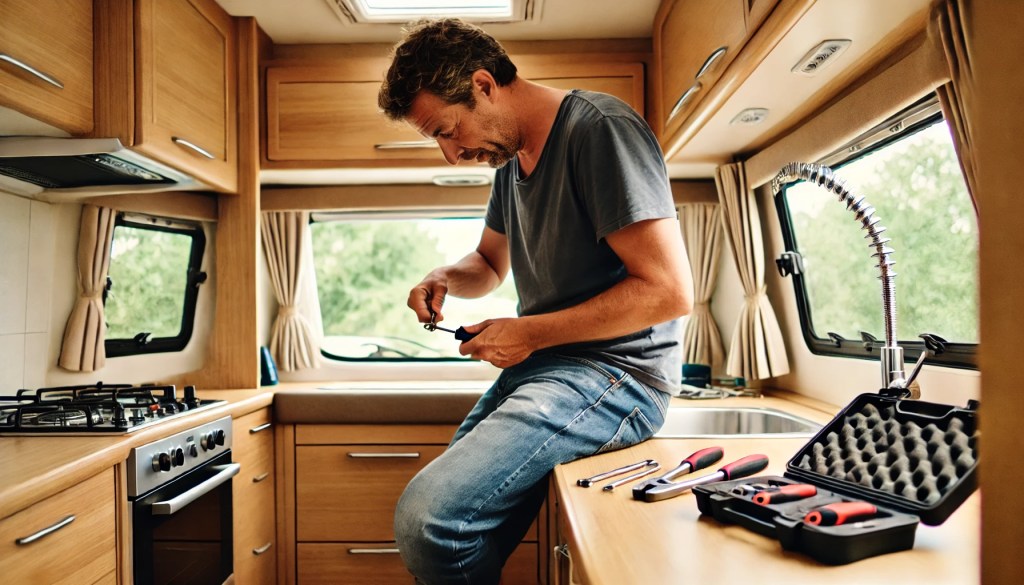
1. Tools and Equipment
You’ll need a few basic tools: a drill, screwdriver, sealant, and spanners. You will also need a diesel heater kit, which includes a fuel pump, controller, exhaust pipe, and mounting brackets.
2. Choose the Right Spot for Installation
Find a suitable location that’s close to your fuel tank (or a designated diesel tank). Make sure it has easy access to fresh air for combustion. The space should also allow for exhaust gas venting.
3. Install the Heater Unit
- Mount the Heater: Securely bolt the heater in place according to the manufacturer’s instructions.
- Fuel Line: Run the fuel line from the heater to the fuel source. Lay the fuel line from the heater to the fuel tank in a smooth path. Make sure it is continuous. Sharp bends or kinks can restrict fuel flow, which will affect the heater’s performance or cause it to fail. Use proper line routing techniques, such as gentle curves, to avoid these problems. The fuel line should not rub against sharp edges, moving parts, or hot surfaces. Over time, vibrations in the motorhome can cause wear on the fuel line. This wear occurs if it’s rubbing against a hard or sharp surface. These conditions can potentially lead to leaks. Use protective sheathing or routing guides to prevent this. Consider adding rubber grommets or protective sleeves in areas where the line passes through metal or other rough surfaces. After installing the fuel line and before operating the heater, double-check for any potential leaks at the connection points. After installation, inspect the fuel line regularly for wear and tear. Motorhome vibrations can cause loosening over time, so ensure everything remains tight and free from damage.
- Exhaust: Drill a hole for the exhaust pipe. The pipe should lead outside and away from windows or doors to prevent fumes from entering the motorhome. Route the exhaust pipe carefully to exit the motorhome safely. Make sure it does not contact any flammable materials like carpet, upholstery, or wood paneling. If your motorhome has underbelly storage compartments or insulation, make sure the exhaust is well away from these areas. Ensure there is at least a few inches of clearance between the exhaust pipe and any surrounding materials. Installing a heat shield around the exhaust pipe is recommended. Use metal clamps or brackets to keep the exhaust securely in place and prevent it from moving during travel. When routing the exhaust pipe through the floor or wall of your motorhome, close any gaps using a heat-resistant sealant. This prevents both exhaust gases and heat from leaking into the interior. It helps reduce the risk of accidental fires. Make sure the exhaust outlet is directed away from windows, doors, or any areas where people may be standing. The tip should point downward or to the side to ensure the hot gases dissipate safely. Avoid letting the exhaust point directly at the motorhome’s body panels. After installation, regularly inspect the exhaust system for any signs of damage, loose fittings, or wear and tear. A damaged or poorly fitted exhaust can lead to dangerous leaks or fires, so replace any worn-out parts immediately.
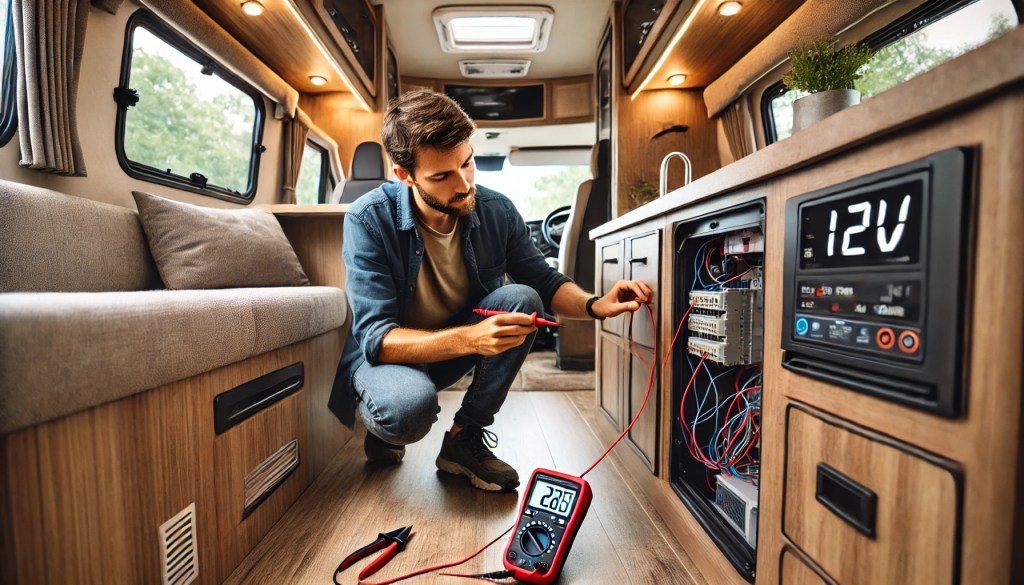
4. Electrical Connection
Connect the heater to your motorhome’s 12V power supply. Follow the wiring diagram provided with your heater to avoid any mistakes.
5. Testing and Final Adjustments
Once installed, test the heater to ensure it’s working correctly. Check for any leaks in the fuel system or exhaust, and ensure the heater produces sufficient heat.
Recommended Diesel Heater Products
Here are three highly-rated diesel heater kits, perfect for RV installations. Each comes with the components needed for a safe and reliable setup.
- Diesel Air Heater 5KW 12V Separate Fuel Tank
This is a powerful and compact unit. It includes an LCD controller. There is also a muffler and separate fuel tank for easy installation. - Diesel Heater Integral Fuel Tank 12V 8KW
A budget-friendly all in one choice that still delivers reliable heat. It includes everything built in to make easy installation.
Final Thoughts
A diesel heater in your motorhome lets you extend your travel season. It also helps you stay warm on cold nights. With the right equipment and careful installation, you can enjoy the comforts of home no matter the weather. Always consult the product manual for detailed instructions and, if unsure, consider hiring a professional for the installation.
